Subscriptions
Assign subscription to customer
Once a customer is created, you can assign a subscription to them by following these steps:
- Navigate to the Customers Dashboard.
-
Click on the customer you want to assign a subscription to. This will open the customer’s details page.
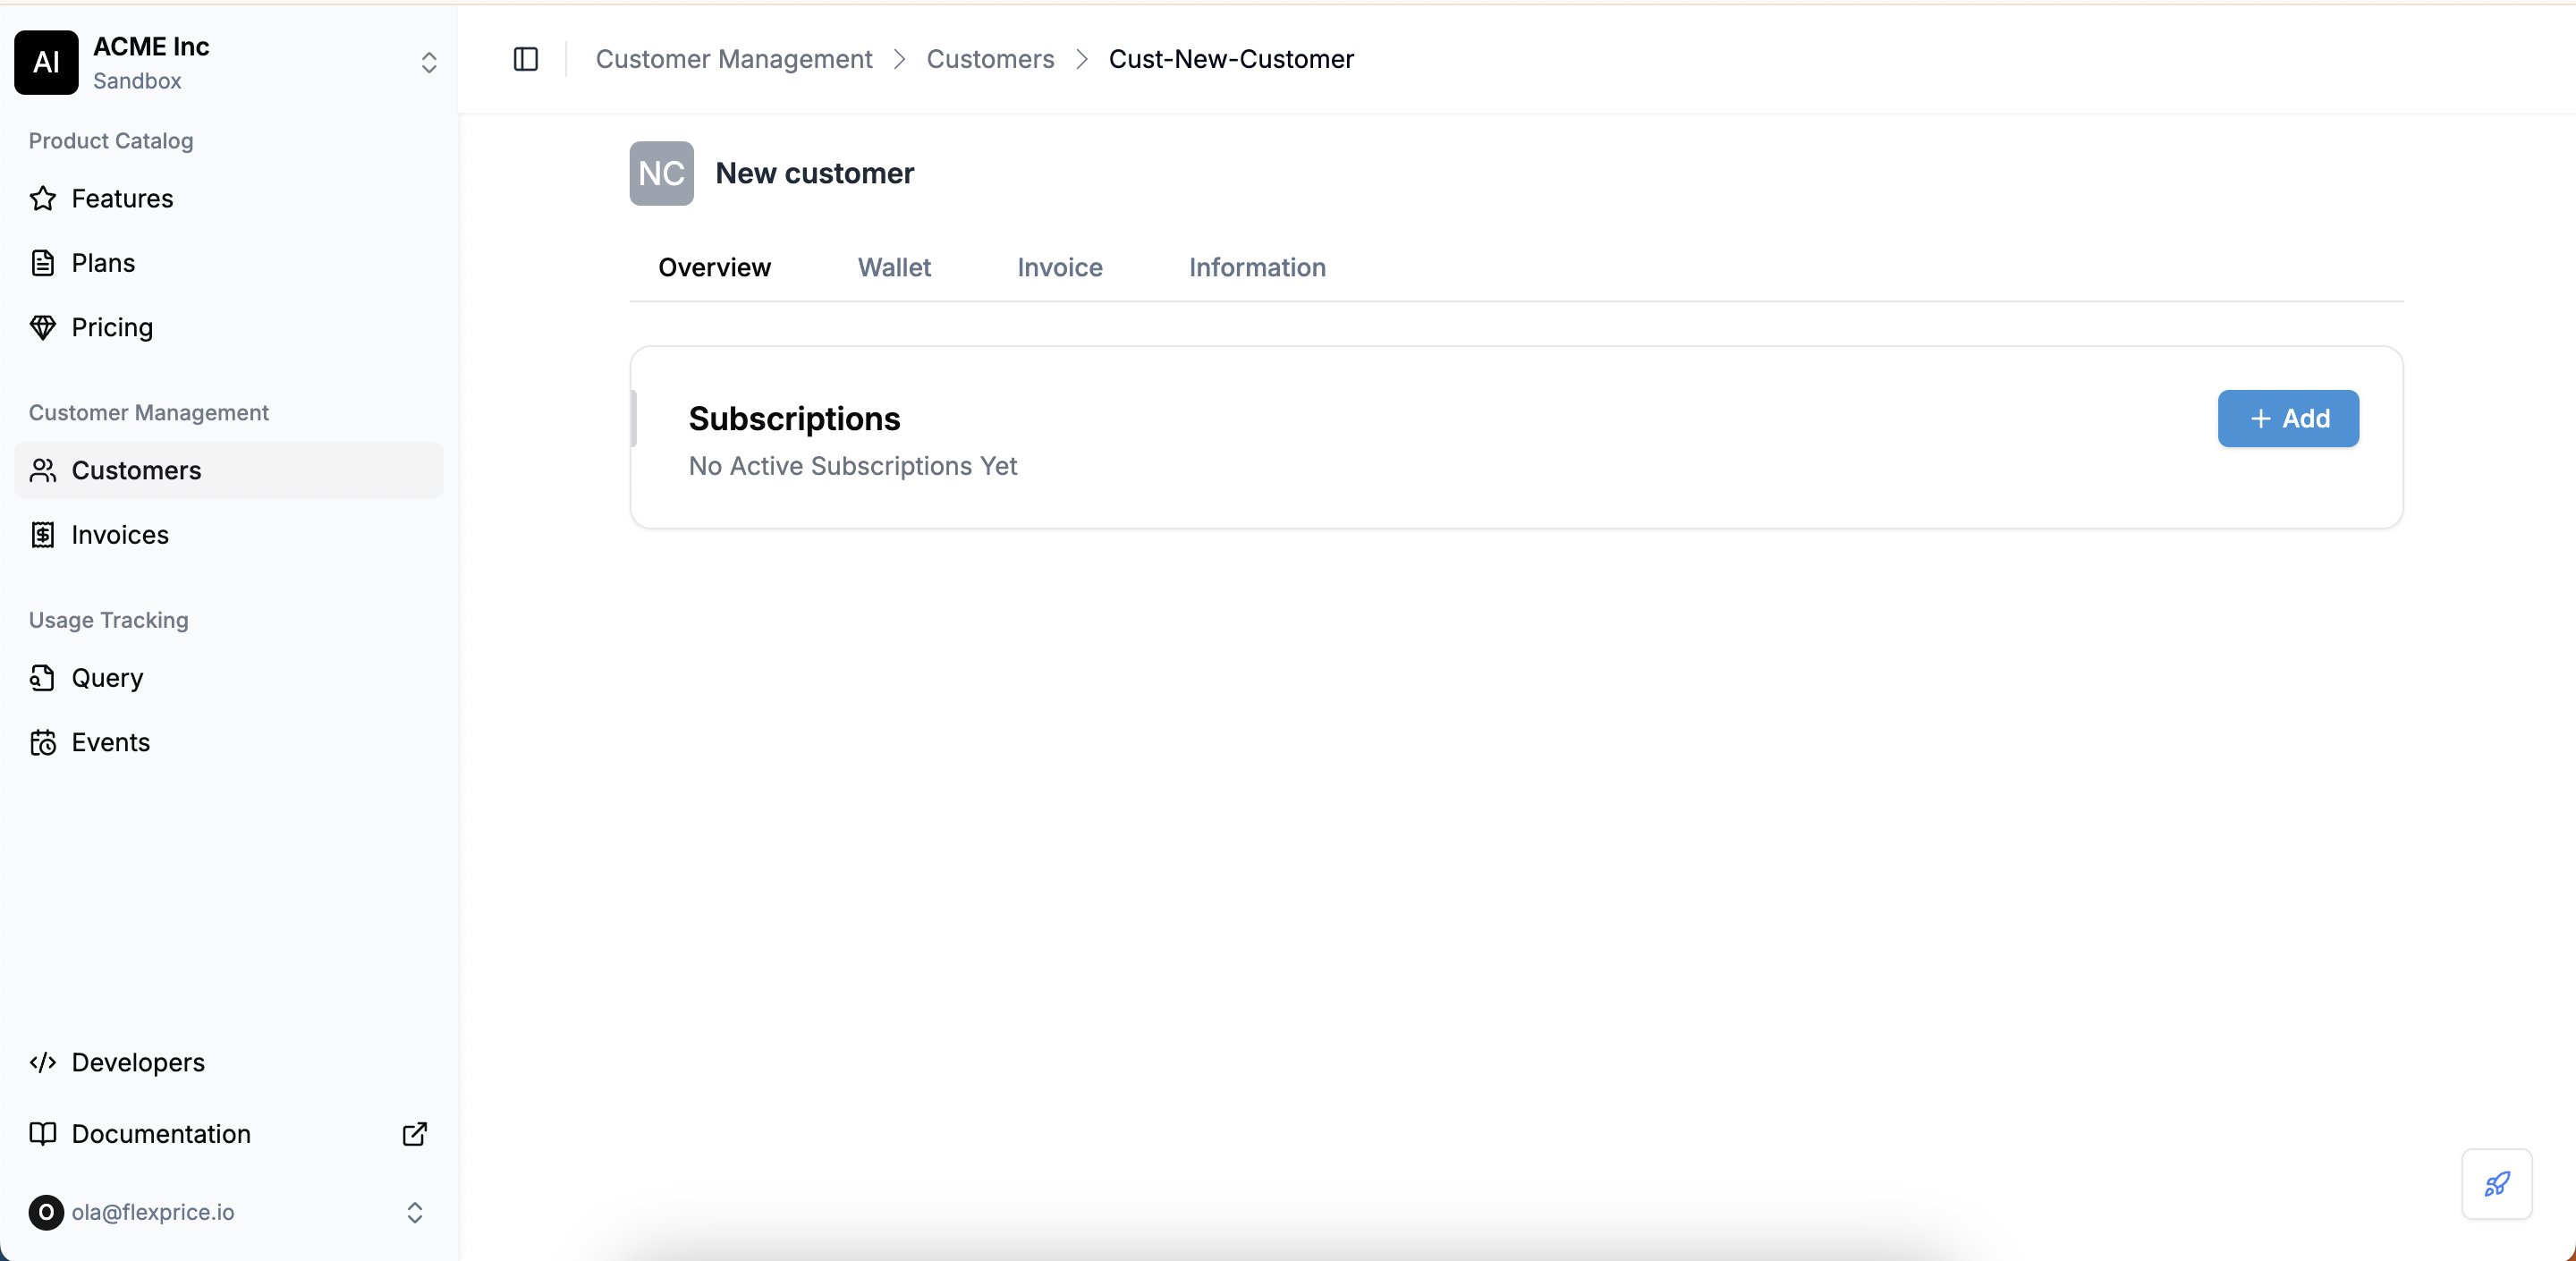
- On the customer details page, click the Add button.
-
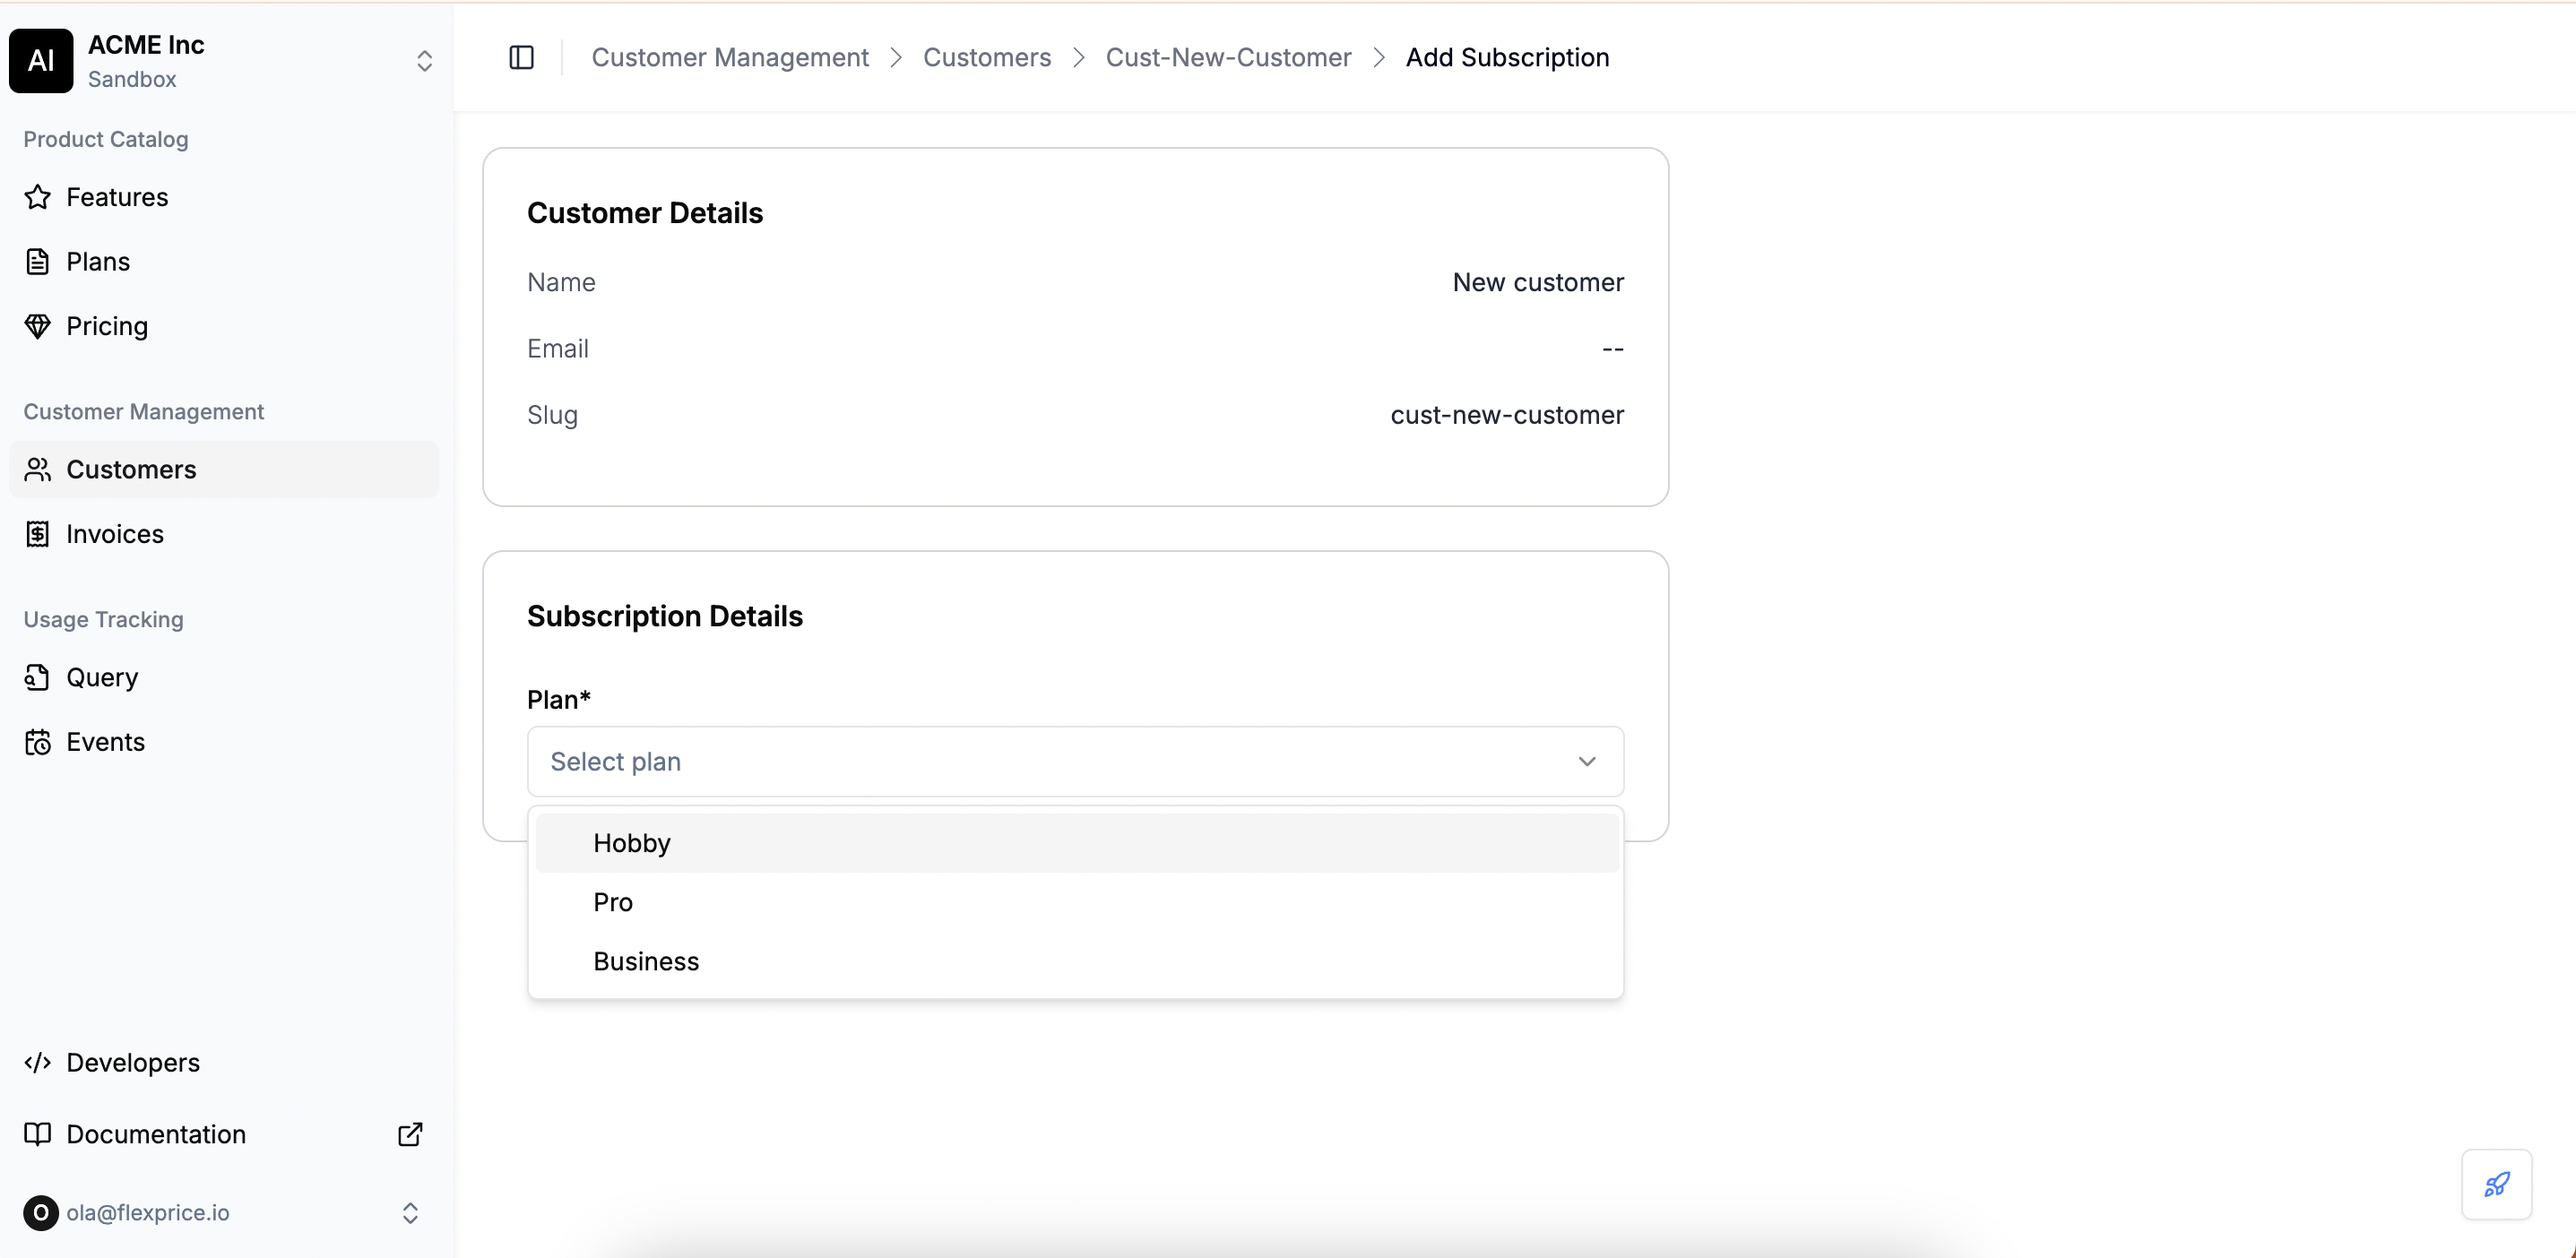
Select a pricing plan from the dropdown menu. Only plans that have been created will be listed.
-
Based on the selected plan, subscription preview along with breakdown of charges will appear on the right side of the screen. This includes all recurring charges and usage-based charges that you’ve created in the plan for the given billing period.
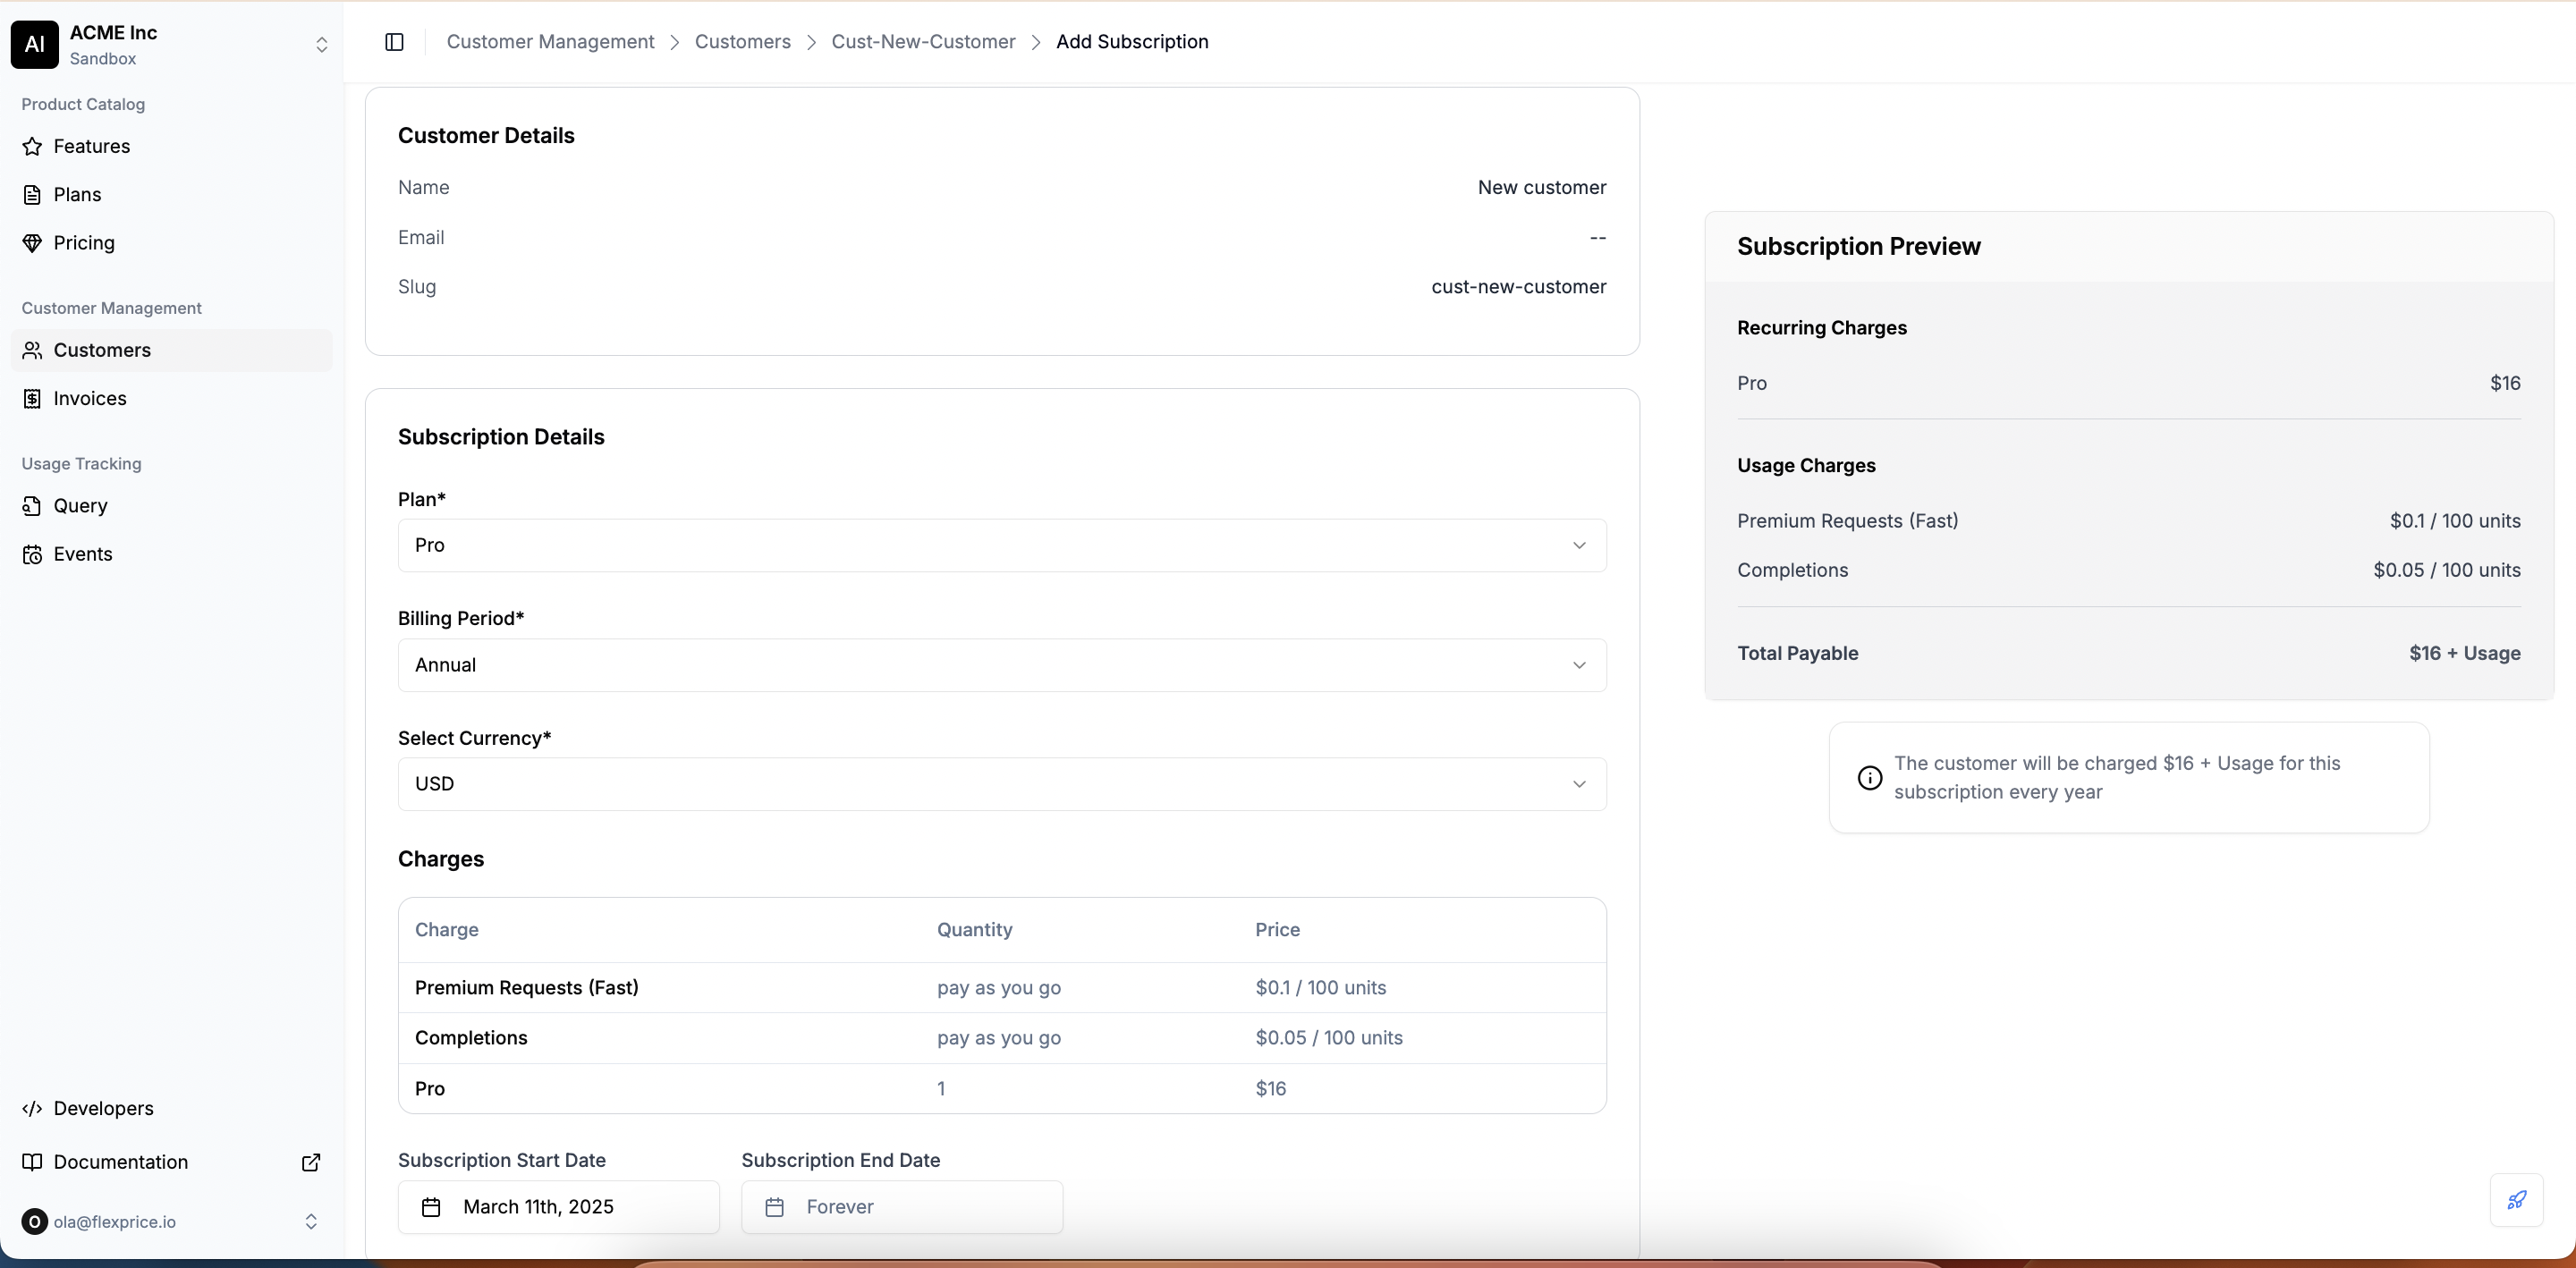
- Specify the Subscription Start Date thats marks as the beginning of the billing cycle.
- Define the Subscription End Date if required. By default, this is set to “Forever.”
- Once all details are entered, click Add Subscription to save.
-
The subscription will now appear under the customer’s details with its status and billing information.
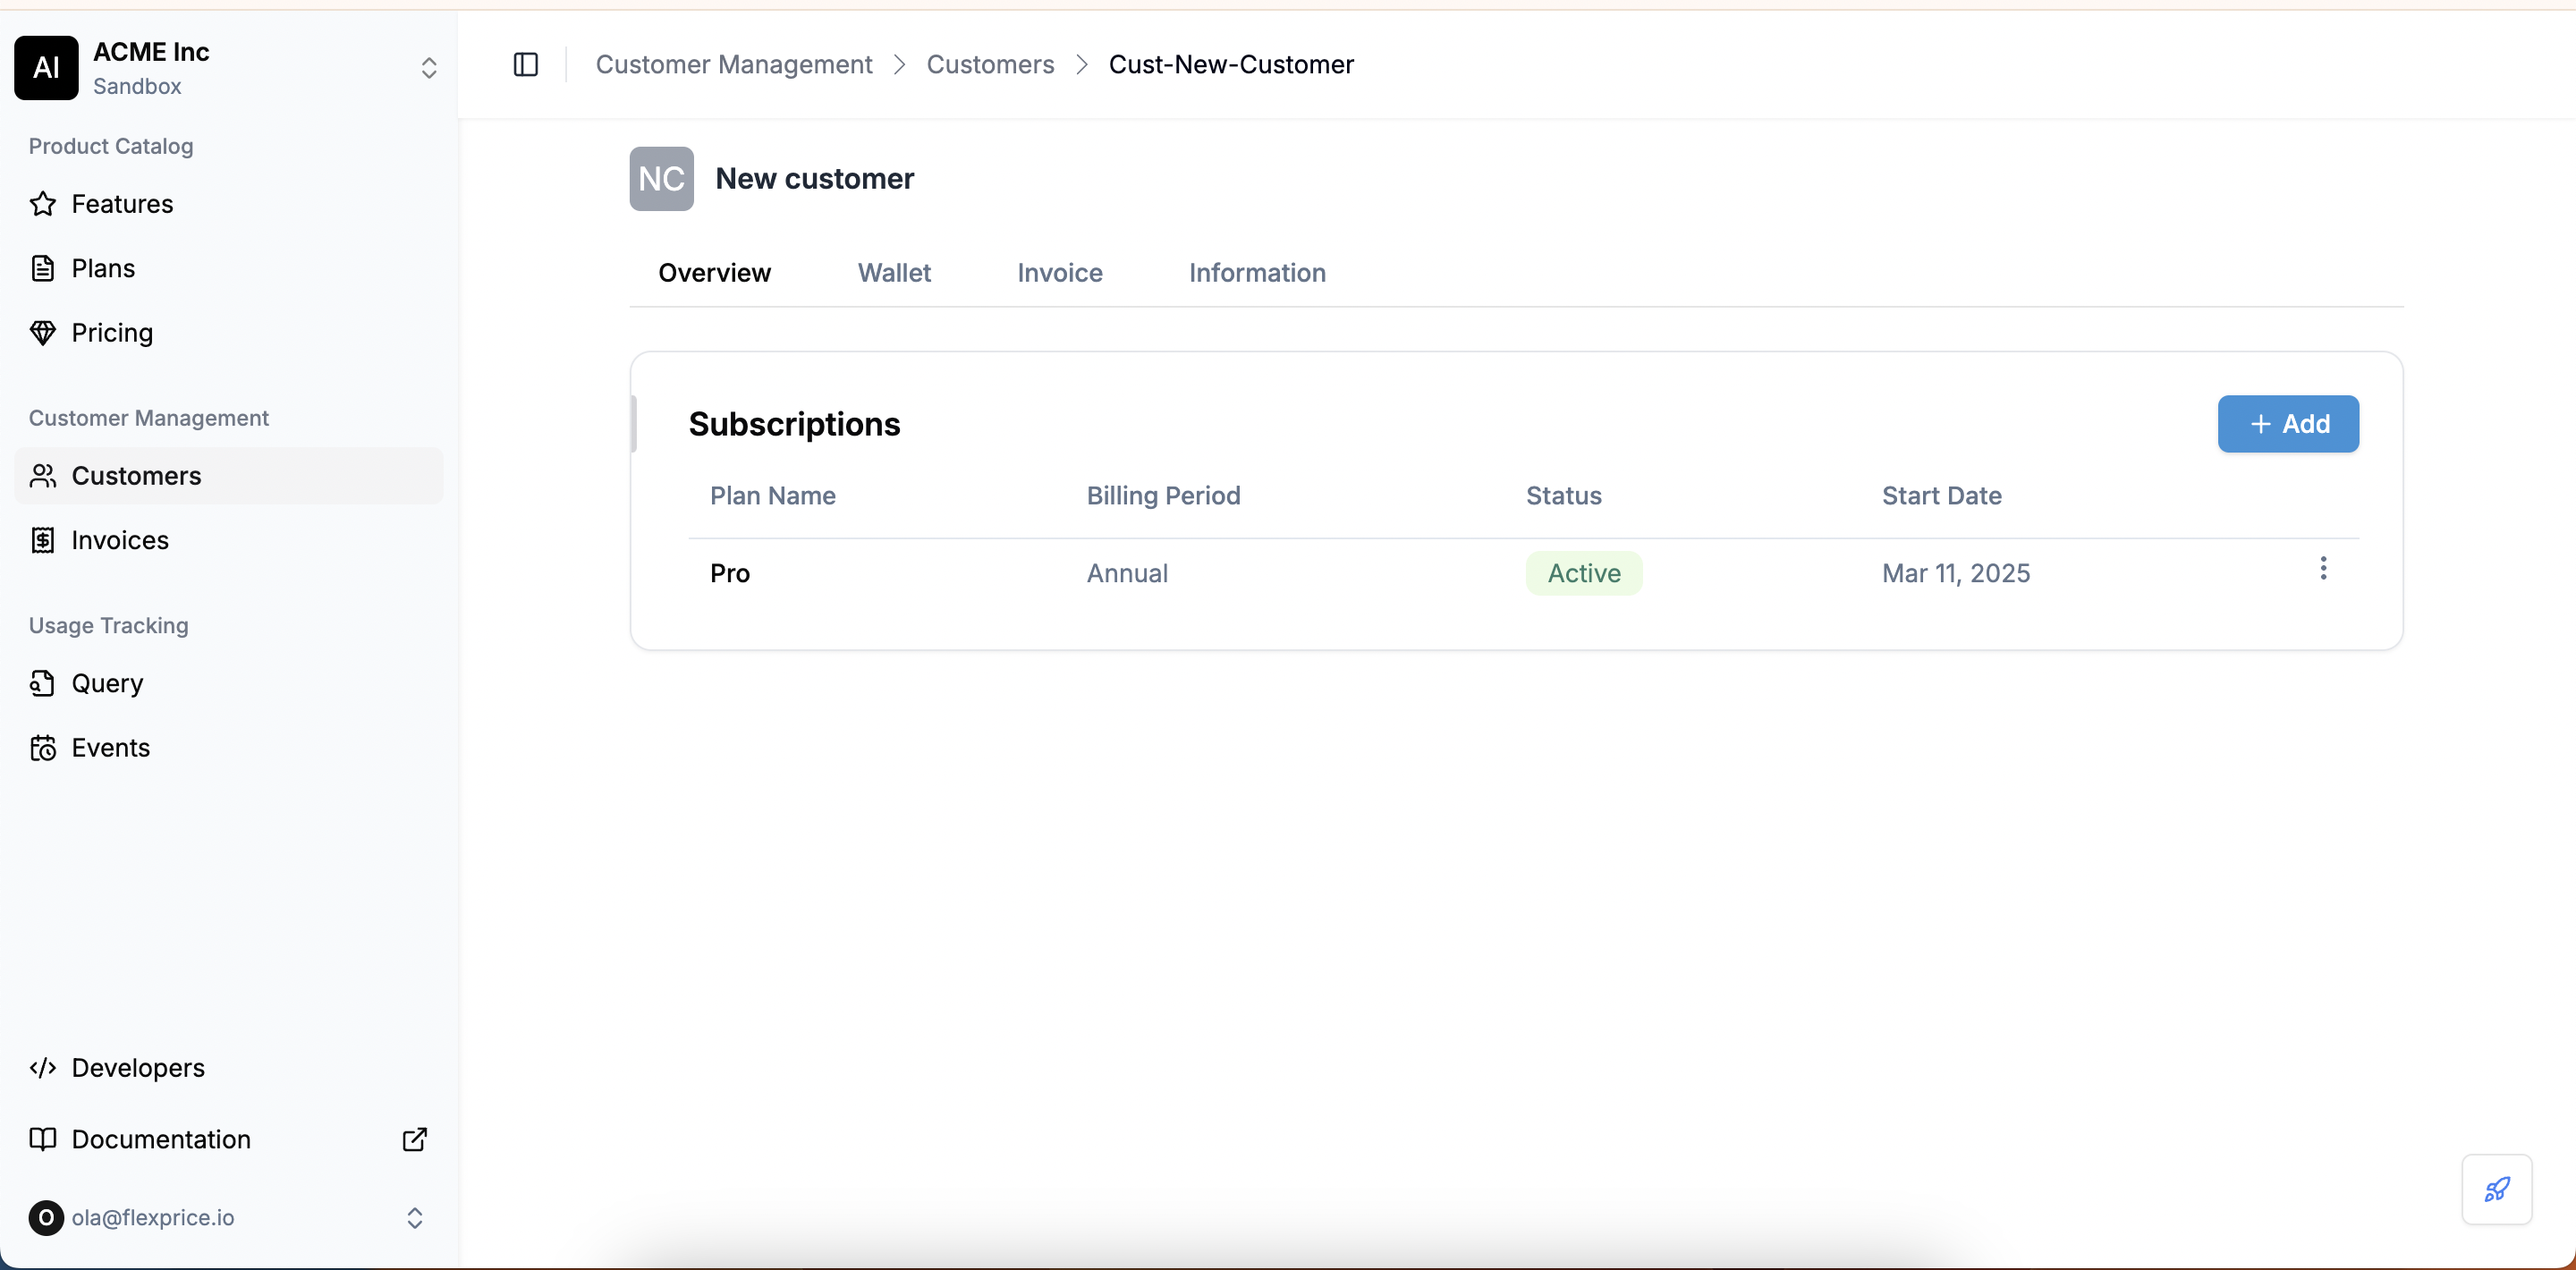
- A single customer can have multiple active subscriptions.
- Each subscription operates independently based on its assigned billing period, charges, and start date.
-
For example, a customer can have both a
Basic Planand anAddon: AI Agent Sessionssubscription, each billed separately.